Blackboard Instructions 1.3

Here you will find step by step instructions on how to setup your service in Blackboard with LTI 1.3.
The Peregrine Global Services LTI Tool can be setup in Blackboard with LTI 1.3 dynamically or manually. It is highly recommended to use dynamic registration. Depending on the version of your LMS, these instructions may be slightly different.
Dynamic Registration
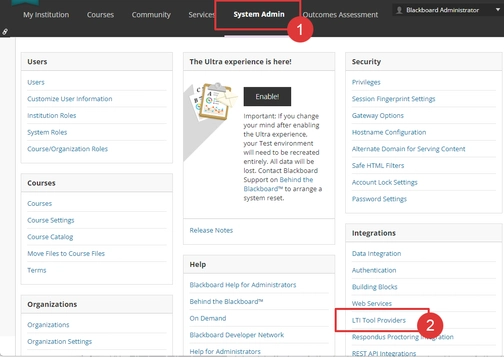
1. Navigate to System Admin, under the Integrations block, click LTI Tool Providers.
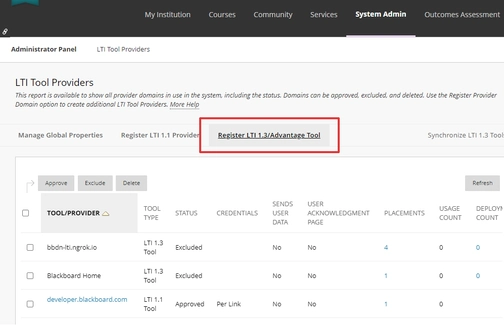
2. Click Register LTI 1.3/LTI Advantage Tool.
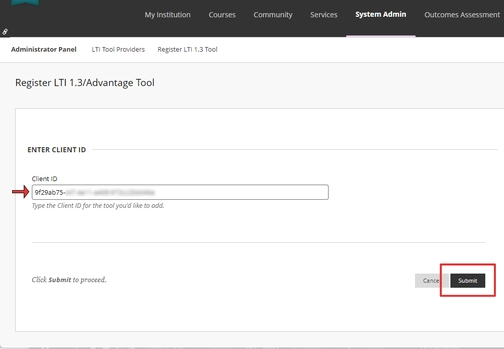
3. In the Client ID field, add the identifier provided to you by your Peregrine Global Services representative.
4. The next screen should auto-populate with most of the required values.
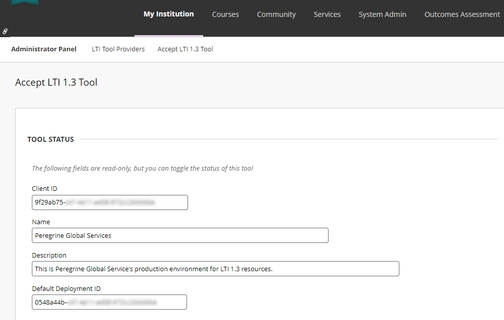
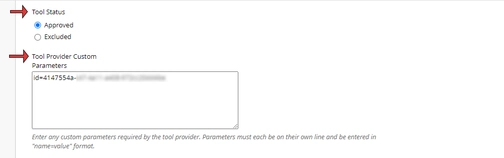
5. Make sure the Tool Status is set to Approved (this can also be done later).
6. Enter an id provided to you by your Peregrine Global Services’ representative in the Tool Provider Custom Parameters section. This id is specific to your institution and should be entered as id=<your-assigned-identifier>
7. Ensure you are sending the Name and Email Address as user fields. If you would like to allow Peregrine Global Services to post grades to the gradebook, select Yes for Allow grade service access.
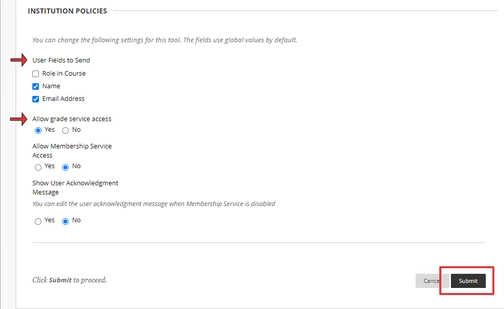
8. When you are finished on this screen, select Submit.
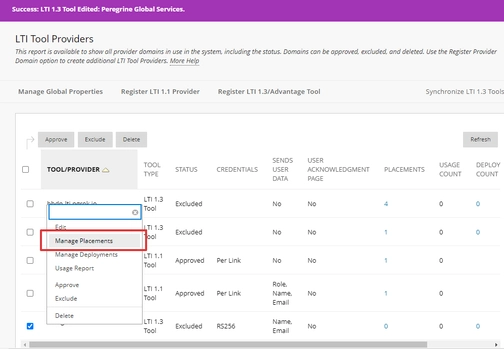
9. Now go to the Peregrine LTI 1.3 Tool and select the dropdown next to the name (hover in this area to find it), then select Manage Placements.
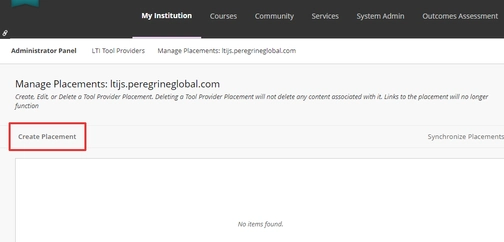
10. On the Manage Placements page, click Create Placement.
11. In the Label field, enter the tool name.
12. In the Handle field, enter your desired UUID.
13. In the Type section, keep the default selection for Deep Linking content tool.
14. In the Target Link URI field, enter https://ltijs.peregrineglobal.com.
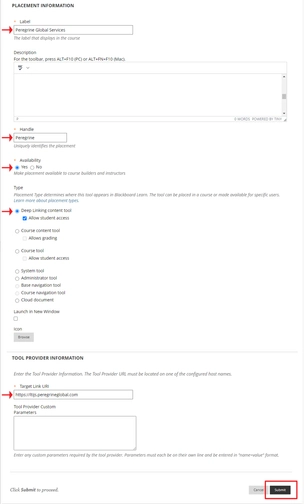
15. Press Submit when finished. The setup is now complete and you can now add a Peregrine Global Services’ resource from the content section in Blackboard.
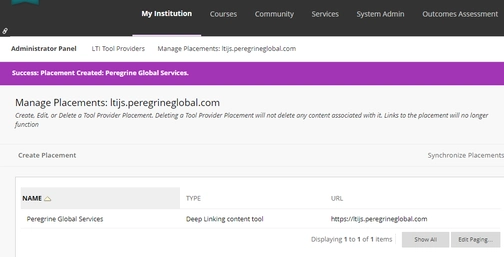
16. The completed Managed Placement screen.
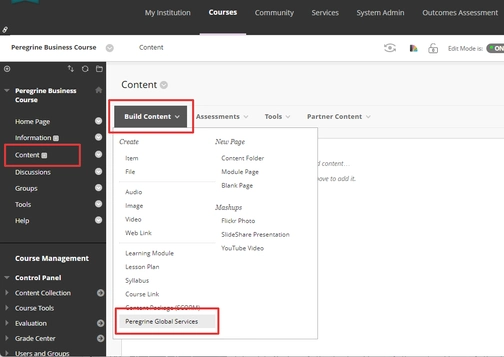
Add a Peregrine Global Services’ Resource to Blackboard
1. Navigate to Content, select Build Content and find the Peregrine Global Services LTI tool you installed (note that the name may be different).
2. Upon a successful Deeplink launch, you will be presented with your available resources from Peregrine Global Services. Select the desired resource you wish to integrate within your course.
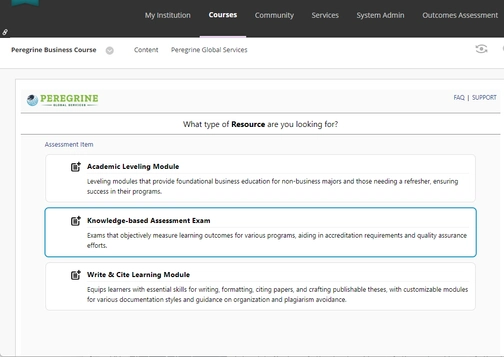
The integration of your Peregrine Global Services’ resource as a course assignment should now be complete.
Do you need further assistance or have more questions? Please visit our Faculty Support page and fill out a request form for our client engagement team.